¶ Settings
As a user, you can manage your personal settings.
To access your personal settings:
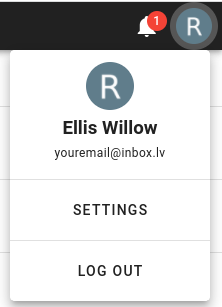
- Click on your profile picture in the top, right corner of your Cospace dashboard.
- Choose Settings from the drop-down menu and you will be directed to your personal settings page.
Admins have more settings than general users. General users have only personal settings, admins have personal and also administrator settings.
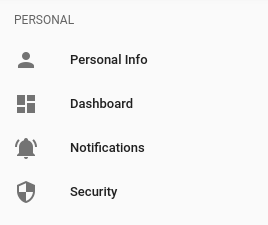
¶ Personal settings
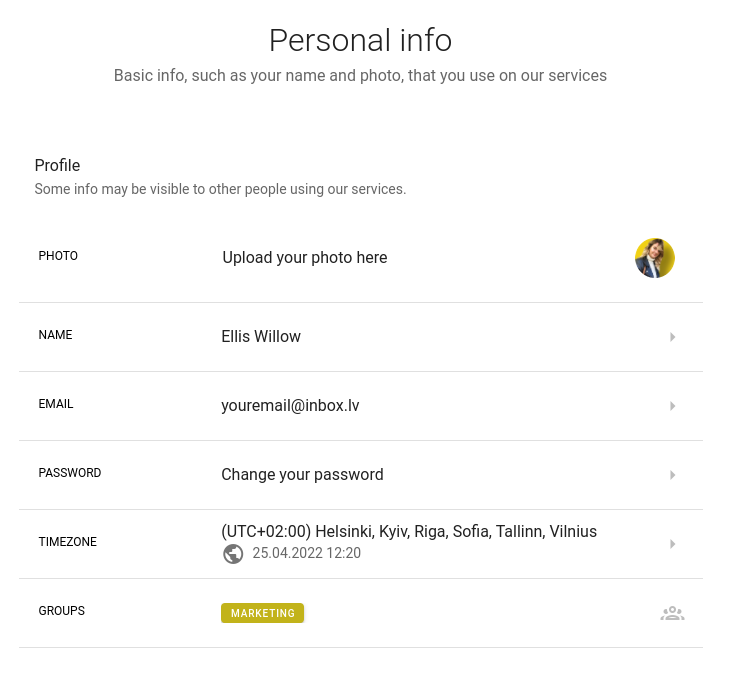
¶ 1. Personal info
On the personal settings page you can change these settings:
- Your profile photo
- Name
- Email address
- Password
- Timezone (You can also choose between 12-hour clock or 24-hour clock display here)
- Groups ( You can see all the groups assigned to you)
¶ 2. Dashboard
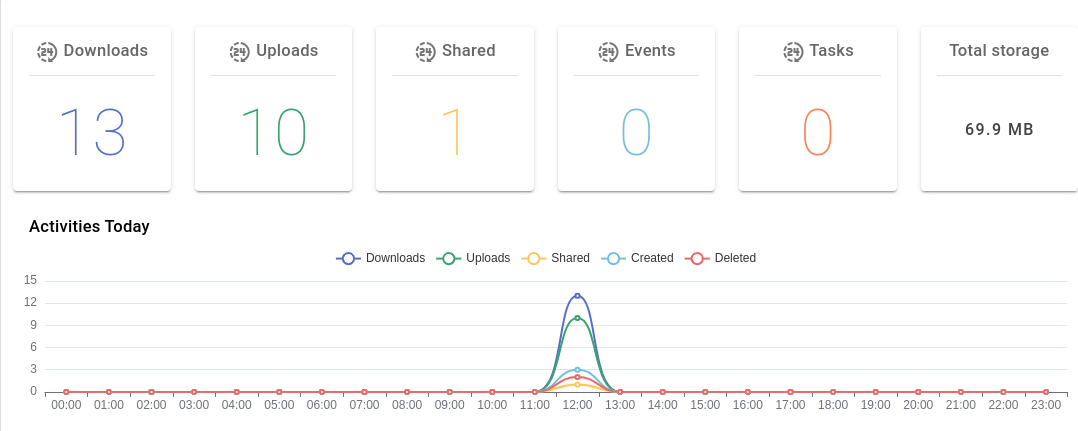
Get a visual pleasing and simple overview of all your files, data and activities .
2.1. A very detailed line graph of all Downloads, Uploads, Shared files, Events, Tasks, and Total storage.
2.2. Pie charts, Bar charts, and Column graphs are made for you to stay on top of your files and activities. You can see all the recent activities, what type of files you have the most, how many tasks you have going on and so much more.
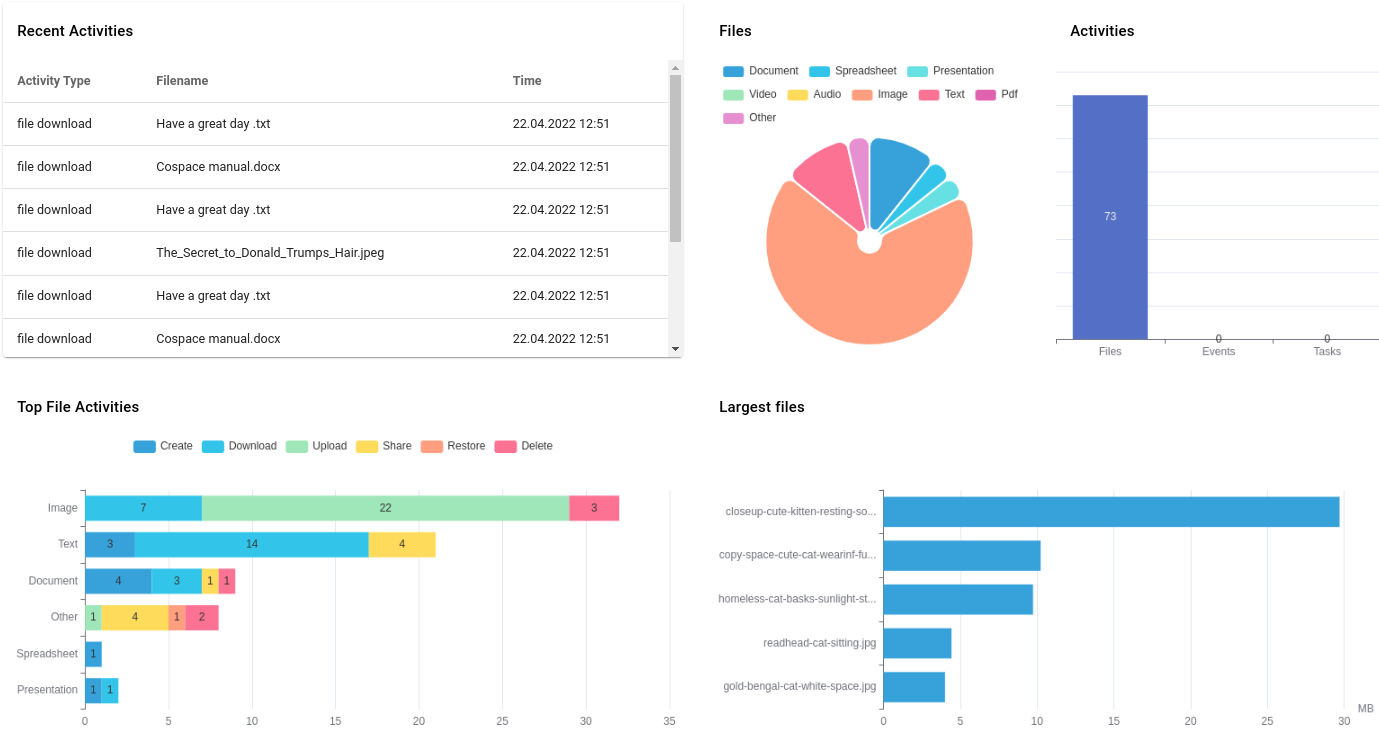
Admins can also see an overview of users and group acitivities
¶ 3. Notifications
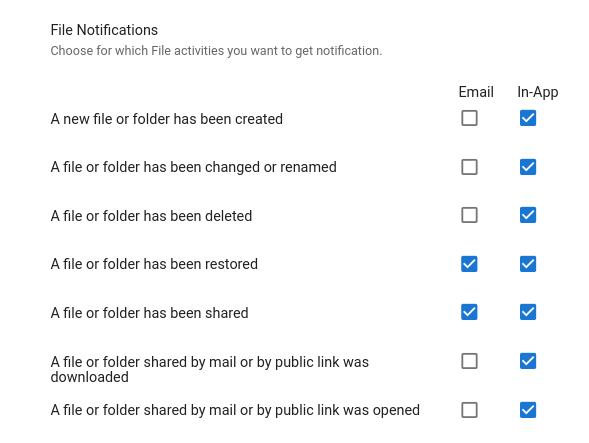
In the notification application view, users are free to choose what kind of notifications they receive.
You can always choose whether you want notification in-app or email. You can also choose no notifications by unchecking all the boxes.
File notifications allow you to get notifications when your files or folders are created, renamed, deleted, restored, shared, or open via a public link .
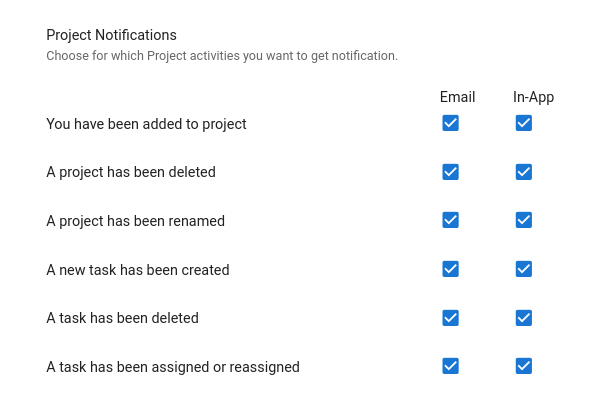
Project notifications let you choose to get notified about all kinds of project and task activities. For example, you can choose to get notifications when you have been added to a new project or assigned a new task. You can also choose to receive a notification when the project or task has been deleted or renamed
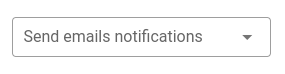
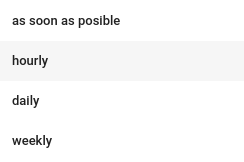
At the bottom of the notification page you can click ‘send emails notifications’ to choose how often you want to recieve an email notifications .
¶ 4. Security
¶ 4.1. Multi-factor authentication
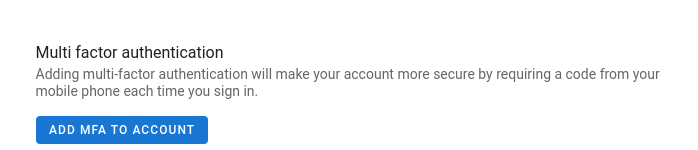
MFA protects user data—which may include personal identification or financial assets—from being accessed by an unauthorized third party that may have been able to discover, for example, a single password. When MFA is enabled, you have to enter, in addition to your password, a second factor which is a time-based one-time password (TOTP) provided via another device during the web login. This device can be a mobile phone or another device providing the second factor, e.g. via an app or SMS.
Steps to add MFA to your account:
4.1.1. In the security application view press ‘Add MFA to account’
4.1.2. Follow on-screen directions. You will need to download Google Authenticator.
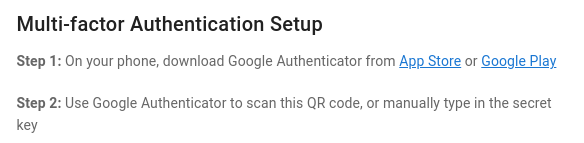
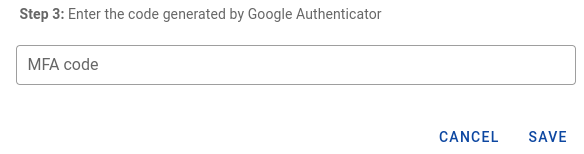
4.1.3. Scan QR code or enter the generated code in the Google Authenticator app and click ‘SAVE’
If the device providing the second factor gets lost or is defected, the administrator can temporarily disable the two-factor authentication for the account in question.
¶ 4.2. Devices&Sessions
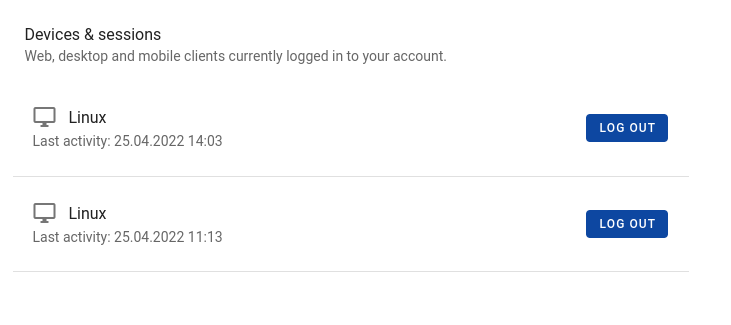
The sessions section, which you can see an example of below, lists all your current user sessions, across web, desktop, and mobile clients. Specifically, it lists the browser user agent string and the time of the most recent activity. If you want to log a session out, then click the ‘log out’ at the far right of the relevant session.
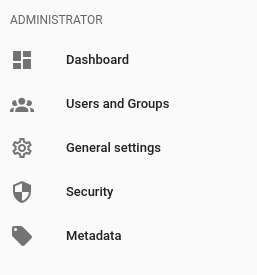
¶ Administrator settings
¶ 1. Create a new user
1.1. Go to administrator settings and on the left sidebar choose ‘users and groups’ app. Then on the top right click the ‘create user ’button.

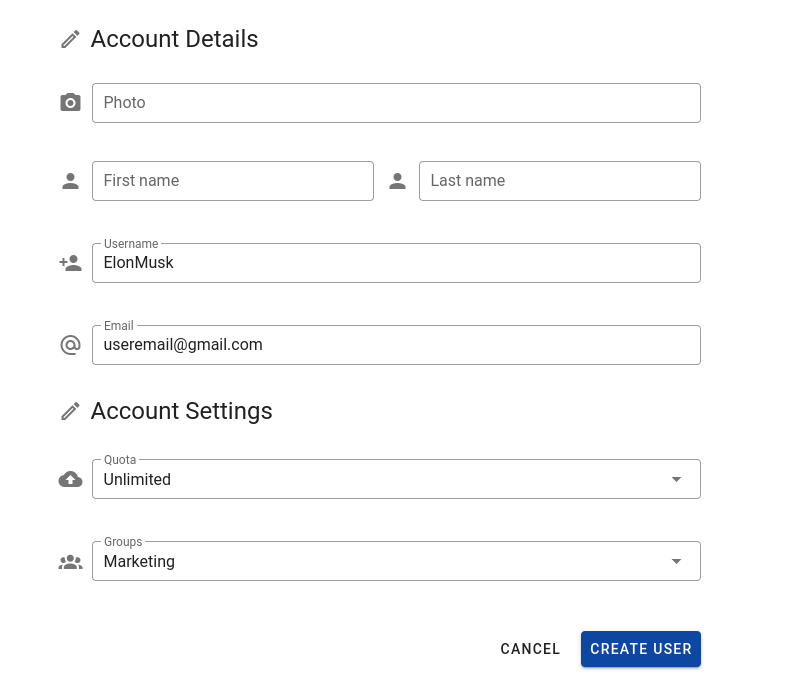
1.2. A new user dialog will open, where you can supply the relevant details for the new user. Enter a username, email, and optionally a first name, last name. Then click ‘create user’.
A user will recieve an email with a welcome message and a button to set a password for their account.
¶ 2. Create a new group
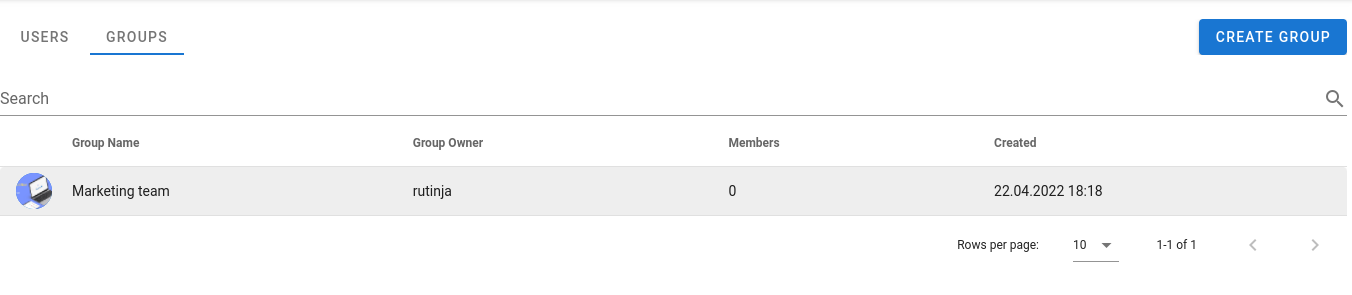
2.1. In the administrator settings left side-bar choose the ‘users and groups’ app. On the top switch from users to groups and on the top right click the ‘create group ’button.

2.2. Fill in all the group details, such as name, description, and photo (optional)
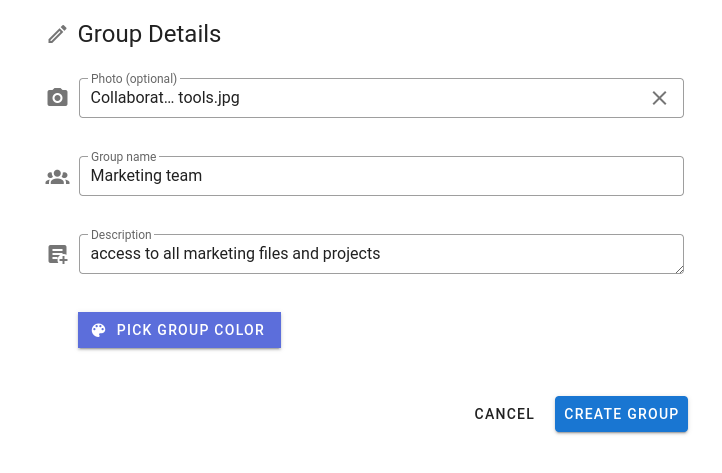
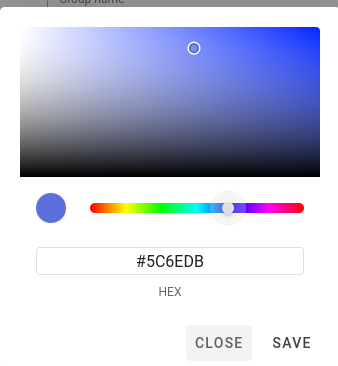
For each group you can choose ANY color you want.
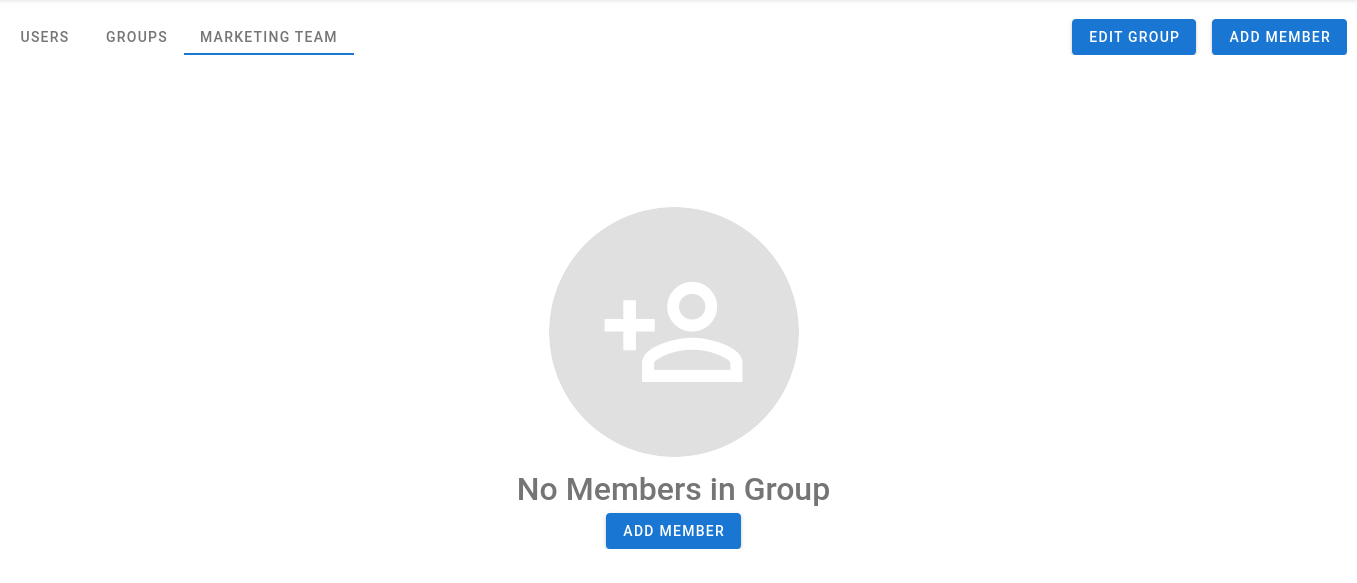
2.3. To add or see group members, click on your created group.
2.4. In the top right corner you can either edit group details or add member.
2.5. Choose all users you want to assign to your group and click add.
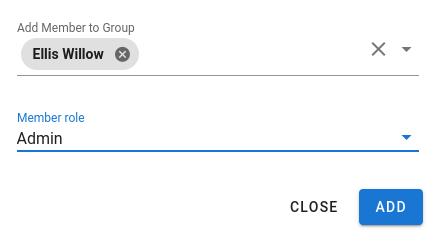
For each member you can decide to grant admin or general user role.
¶ General settings

In the administrator settings left side-bar choose ‘General settings’ .By default, it will navigate to appearance settings, but you can also switch and access here timezone, email server and notification settings.
¶ 3. Appearance
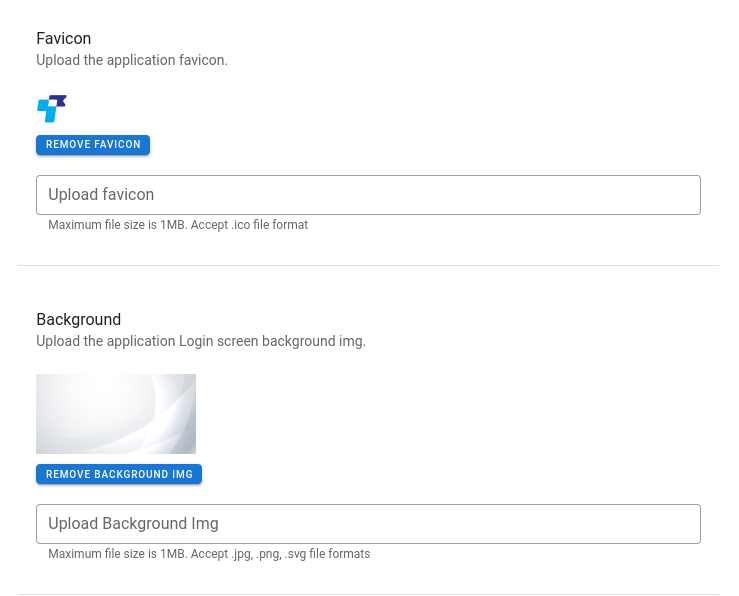
¶ 3.1. Name, logo and background
You can change:
- Header- customize the application header name (the one that appears in the upper left corner)
- Logo - upload the application logo
- Favicon - change web favicon
- Background picture
Photo sizes should be less than 1 MB)

¶ 3.2. Navigation theme and button color
You can choose between our default colors or click Custom - that will open up the color palette, where you can choose any color you like or write any HEX code .
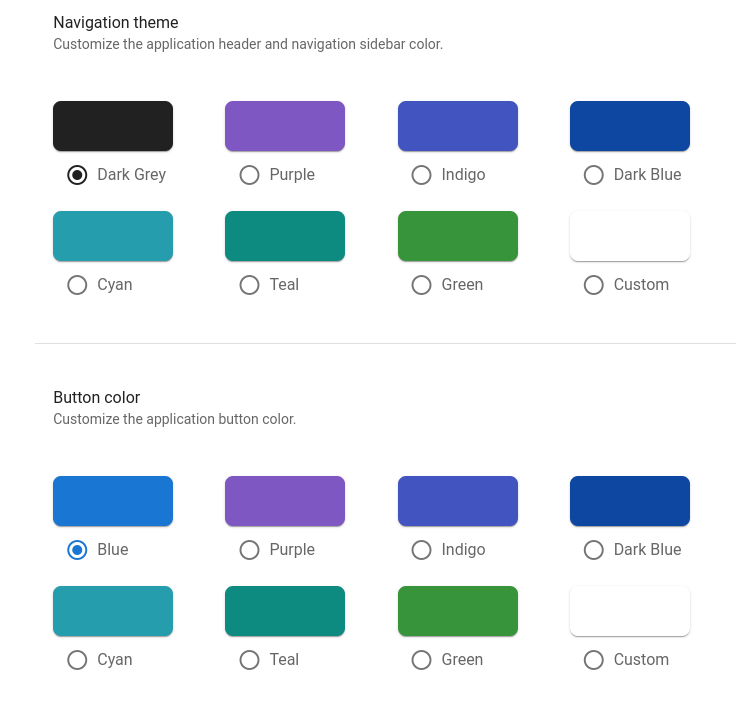
!!!Don't forget to click ‘Update Appearance Settings ’ at the bottom of the page to save your changes.
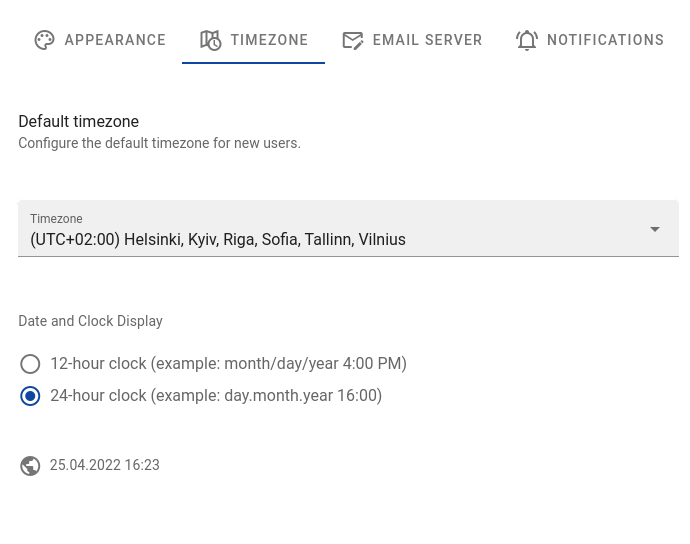
¶ 4. Timezone
In general settings, switch to timezone and here you can edit the default timezone for all new users. You can also choose between a 12-hour clock or 24-hour clock display
¶ 5. Email server
Admins can set their own email server to send emails to users, like password reset and notifications. You need the following information from your email server administrator to connect Cospace to a remote SMTP (Simple Mail Transfer Protocol ) server:
- Encryption type: None, SSL/TLS or STARTTLS
- The From address you want your outgoing Cospace mails to use.
- Domain
- Whether authentication is required. Authentication method: None, Login, Plain or NT LAN Manager
- The server’s IP address or fully-qualified domain name (FQDN).
- Login credentials, if required.
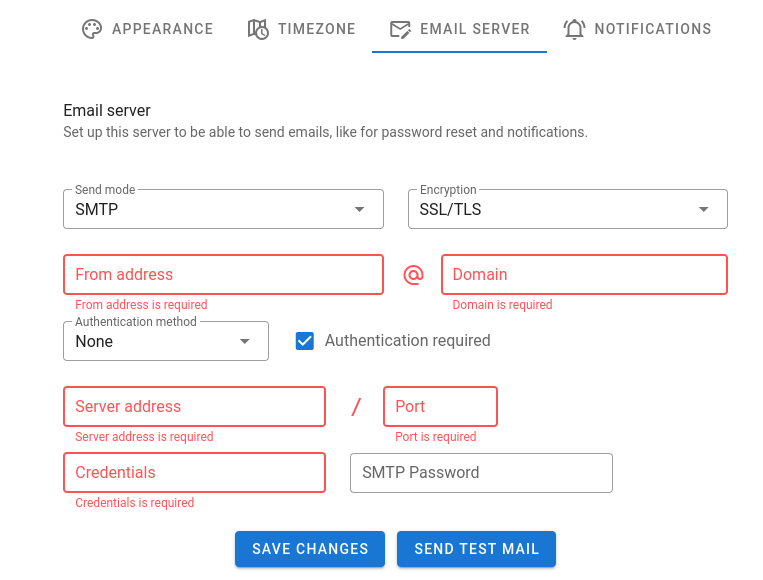
Click save changes and send test mail to make sure everything works!
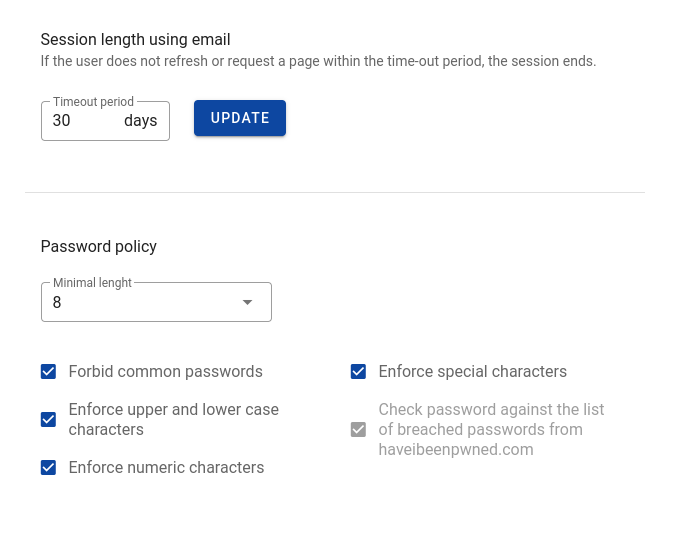
¶ 6. Security
5.1. Session length using email - admin can determine after how many inactive days the user's session ends and will be asked to log in again.
5.2. The Password Policy enables administrators to define password requirements for user passwords. They can:
- forbid common passwords,
- enforce upper and lower case characters,
- enforce numeric and special character
- set to check password against the list of breached passwords
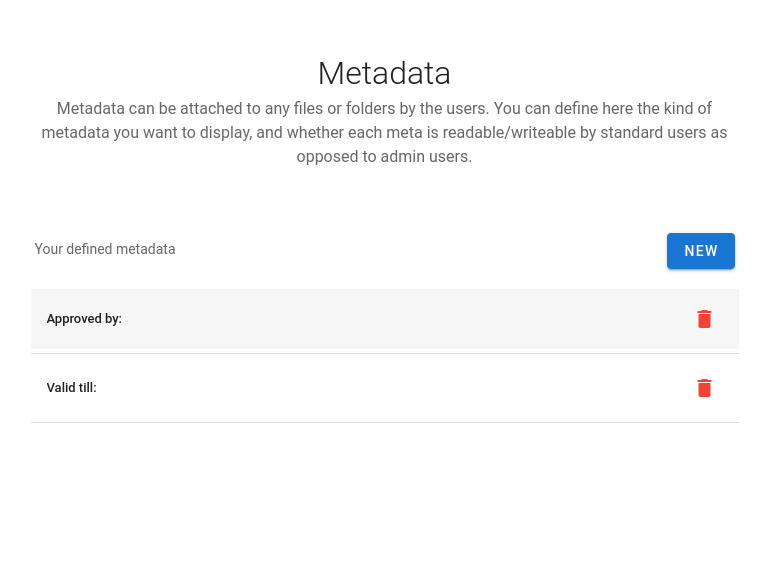
¶ 7. Metadata
Metadata makes finding and working with data easier – allowing the user to sort or locate specific documents.
7.1. In the left sidebar (Navigation 2. Apps information field) choose metadata. To create new metadata click the ‘new’ button.
7.2. Give a name for your metadata and choose the type, whether it's a :
- text
- selection
- date
- color
With selection metadata, you can create different selection values. Simply enter your value name and click ‘save value’
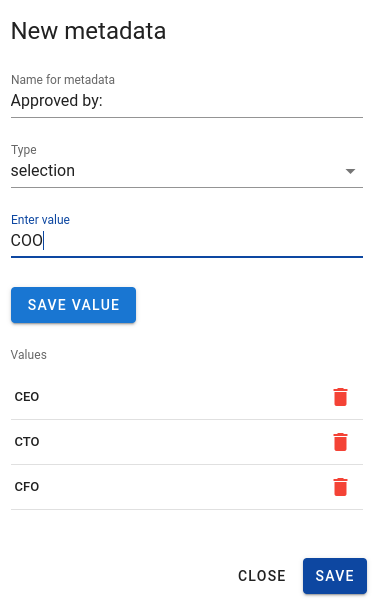
7.3. Click ‘Save’ and now other users are allowed to assign this metadata to any file. (See files → 3.file controls → 3.9. Details and activities)